中文版本 (Chinese version): https://ruby-china.org/topics/43052
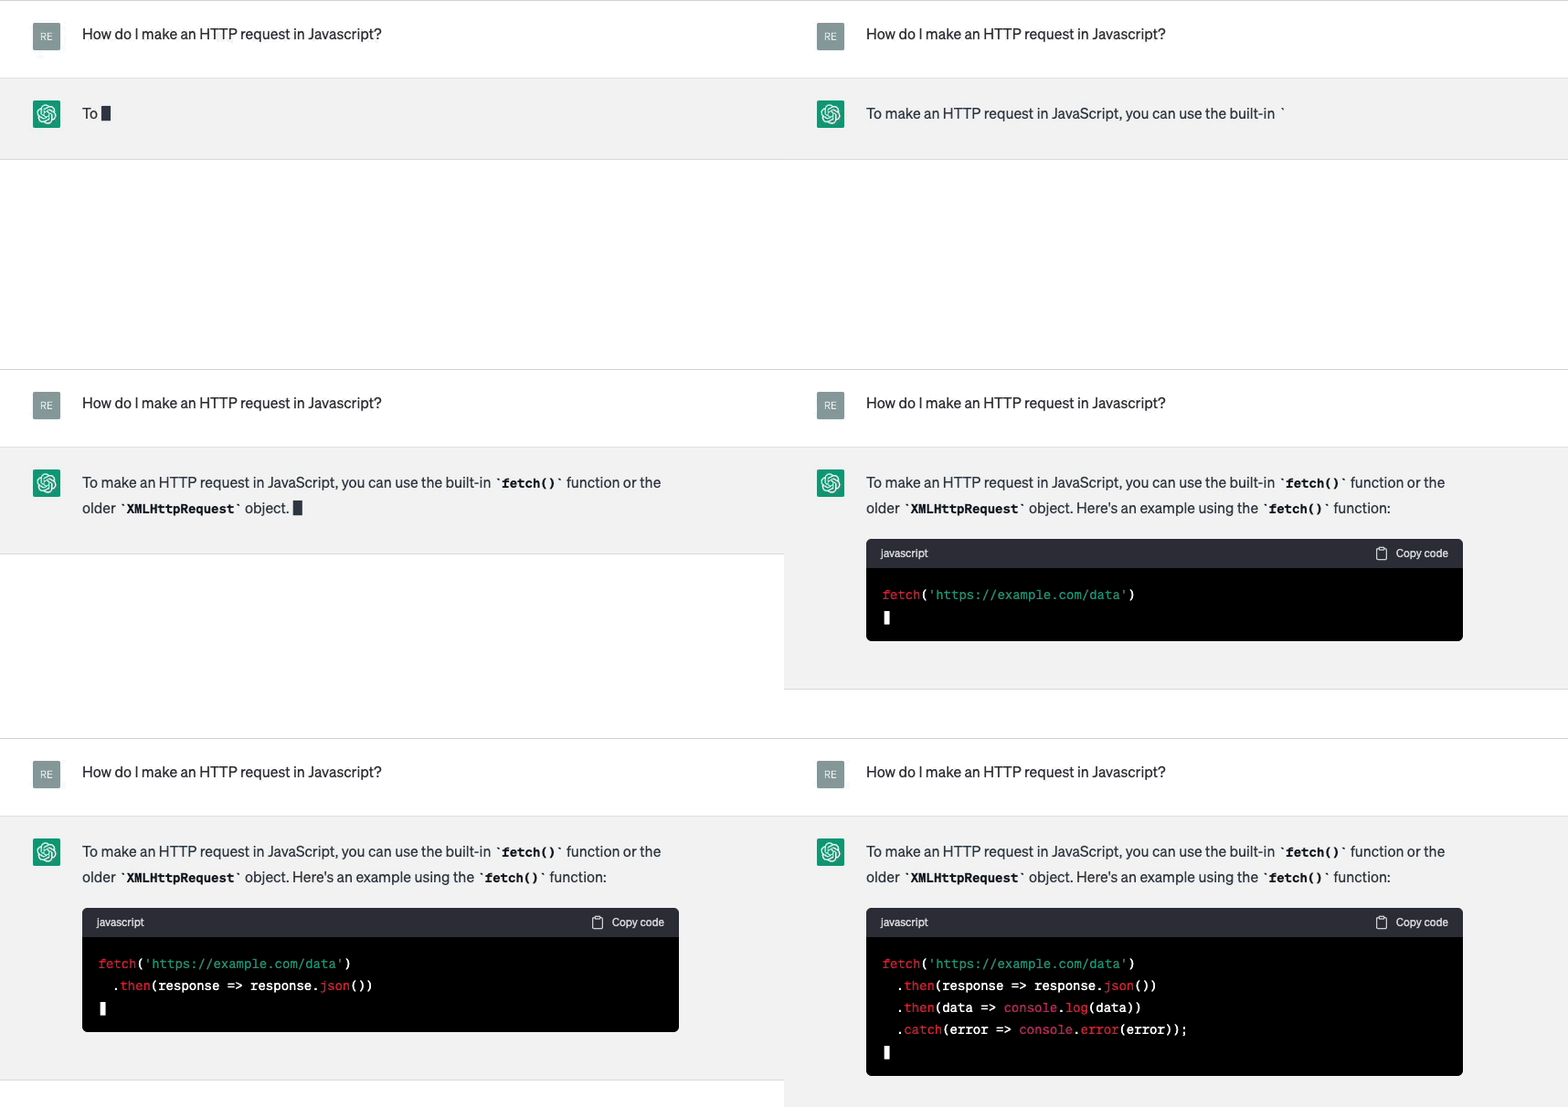
When using ChatGPT, you may notice that the response is not returned all at once after completion, but rather in chunks, as if the response was being typed out:

If we check OpenAI API document, we can find that there's a param called stream for the create chat completion API.
If set, partial message deltas will be sent, like in ChatGPT. Tokens will be sent as data-only server-sent events as they become available, with the stream terminated by a
data: [DONE]message.
So what is SSE?
Basically, SSE, short for “Server-Sent Event”, is a simple way to stream events from a server. It is used for sending real-time updates from a server to a client over a single HTTP connection. With SSE, the server can push data to the client as soon as it becomes available, without the need for the client to constantly poll the server for updates.
SSE can be implemented through the HTTP protocol:
https://www.host.com/streamConnection: keep-alive to establish a long-lived connectionContent-Type: text/event-stream response headerevent: add
data: This is the first message, it
data: has two lines.It looks like SSE is similar to WebSocket? they are both used for real-time communication between a server and a client, but there are some differences between them.
In conclusion, SSE seems like a simpler alternative to websockets if you only need to have the server send events. WebSocket, on the other hand, is more powerful and can be used in more complex scenarios, such as real-time chat applications or multi-player games.
Now let's talk about how to use OpenAI's API to receive Server-Sent Events (SSE) on your server, and forward those events to your client using SSE.

Here is the workflow for implementing SSE in Rails to use ChatGPT:
EventSource to server endpoint with SSE configured.stream: true parameter.[Done] message signals that we can close the SSE connection to OpenAI, and our client can close the connection to our server.After understanding SSE and the workflow, we start coding the entire process.
const fetchResponse = () => {
  const evtSource = new EventSource(`/v1/completions/live_stream?prompt=${prompt}`)
  evtSource.onmessage = (event) => {
    if (event) {
      const response = JSON.parse(event.data)
      setMessage(response)
    } else {
      evtSource.close()
    }
  }
  evtSource.onerror = () => {
    evtSource.close()
  }
}
We uses the EventSource API to establish a server-sent event connection. And the onmessage event will be triggered when a message is received from the server.
class CompletionsController < ApplicationController
  include ActionController::Live

  def live_stream
    response.headers["Content-Type"] = "text/event-stream"
    response.headers["Last-Modified"] = Time.now.httpdate
    sse = SSE.new(response.stream, retry: 300)
    ChatCompletion::LiveStreamService.new(sse, live_stream_params).call
  ensure
    sse.close
  end
end
We include the ActionController::Live module to enable live streaming.
As we mentioned above, the content-type response headers should be set to text/event-stream.
Please note that the stream response in Rails 7 does not work by default due to a rack issue, you can check for more details on this issue.
it took me hours to find out the issue is related to rack… Rails includes Rack::ETag by default, which will buffer the live response.
anyway, this line is necessary if your rack version is 2.2.x:
response.headers["Last-Modified"] = Time.now.httpdate
module ChatCompletion
  class LiveStreamService
    def call
      client.create_chat_completion(request_body) do |chunk, overall_received_bytes, env|
        data = chunk[/data: (.*)\n\n$/, 1]
        send_message(data)
      end
    end

    def send_message(data)
      response = JSON.parse(data)
      if response.dig("choices", 0, "delta", "content")
        @result = @result + response.dig("choices", 0, "delta", "content")
      end
      sse.write(status: 200, content: @result)
    end

    private

    def client
      @client ||= OpenAI::Client.new(OPENAI_API_KEY)
    end
  end
end
The code above uses an OpenAI gem to send request to OpenAI API, it's a simple Ruby wrapper and support streaming response.
BTW, If you're using Hotwire in Rails, you can check this guide.
That's all! Thanks for reading!
demo website: aiichat.cn
QRコードをスキャンしてWeChatを追加します
